Preventing Ice Dams on Your Roof
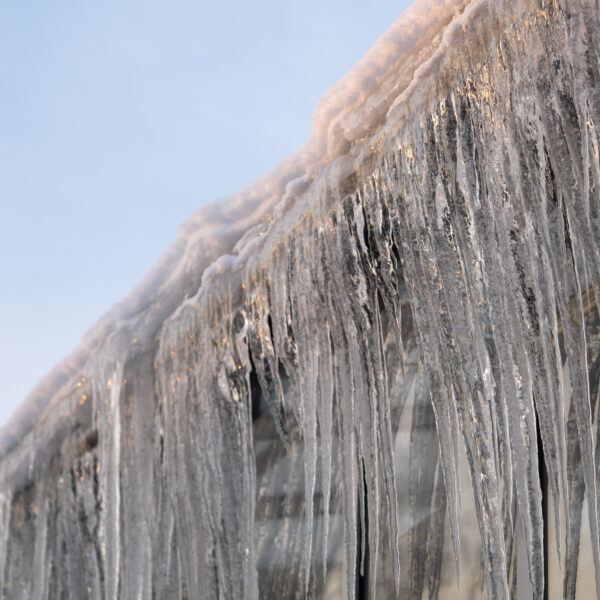
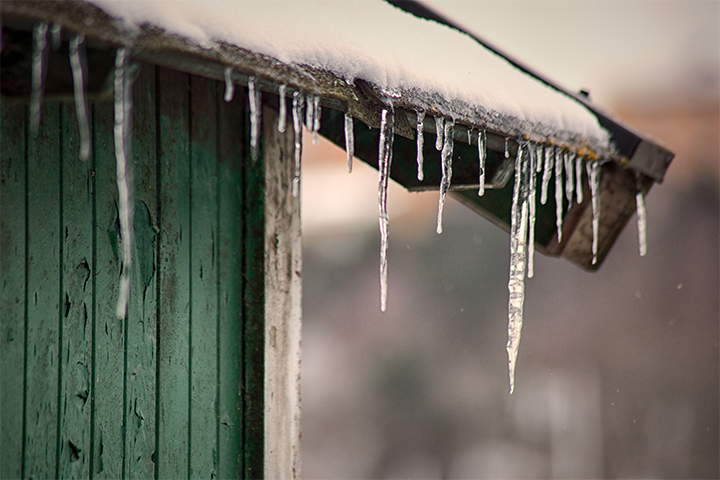
If several inches of snow buildup on your roof is common, you run the risk of forming ice dams. Ice Dams are highly misunderstood and largely preventable. An ice dam is a large block of ice that forms right along the lower edge of your roof.
What is an Ice Dam?
This happens when the temperature in your attic rises, causing the snow on your roof to melt. when the water runs down over the overhang of your roof, it freezes. Over time this ice block can grow and form a dam that prevents any water from escaping your roof. This causes water to pool, and since shingles are designed to prevent water from leaking down your roof, they do nothing to prevent the water from going up to get behind your shingles and leak into your attic.

Long Term Solutions
Ice and Water Shield is your first line of defense.
Ice and water shield is a self-adhering waterproof shield underlayment used in roofing. It typically goes around the overhang of your roof as well as in the ridges and around structures such as chimneys and skylight flashings. Since it’s waterproof it stops water from flowing up your roof. This treats a symptom of ice damming but does not stop ice dams from forming on your roof.
To prevent ice dams once and for all you need insulation and ventilation.
Insulation
Older homes built before the ’90s weren’t insulated well due to the limited technology at their disposal. This would allow any heat inside your home to escape through the roof before it could cause any problems.
With home improvement advances, spray foam has become a common method of insulation in newer homes. Spray foam is great for both insulation and air sealing your attic. However, without proper ventilation, there is nowhere for the warm air to escape.
In older homes, you want to look into your joist bay and see what kind of insulation you have installed. you want to have a minimum of 8 or 9 inches of insulation. If you need to add another layer of insulation, install it perpendicular to the first layer.
If you look at your insulation, typically you have insulation between 2 beams in your roof. Between the insulation and the beams, you have a small gap where air can leak through. By laying your additional layer of insulation perpendicular to the first you seal up those gaps.
Insulate your attic from the rest of your house as best as possible. Regardless of what type of insulation you use, we recommend insulation with an R-value of 49 between your home and your attic.
Other commonly overlooked areas where heat can escape to your attic are things like attic access, heating ducts, bathroom fan outtakes, chimneys, and recess lights. These all need to be individually addressed as well.
Ventilation
Now that your roof is insulated you need to add proper ventilation. Adding vents is standard with any roofing system you purchase today. Proper ventilation uses a combination of ridge and soffit vents.
Soffit vents let cool air enter and circulate while ridge vents allow warm air to escape out the top. However, for them to work, they need to be installed properly. If they’re not positioned correctly, or if they are clogged with extra insulation, air won’t be able to escape and you are back to the problem you started with. Proper installation is the key.

Short-Term, Immediate Solutions
If you require short-term, immediate solutions to break through ice dams on your roof, we suggest turning to the following suggestions:
Clear Off the Snow Using a Roof Rake
Roof rakes look like what you’d get if you combined a gardening hoe with a winter shovel. It is used to rake or pull the snow off your roof. This is a great preventative measure.
If the ice dams are already there try to remove as much snow as possible from the area of the roof behind the ice dam, at least 4-6 feet. Do not try to pull at the ice dam. You run the potential of damaging your roof rake or your roof. Many people have pulled down shingles by tugging at them with a roof rake. Remember there’s frozen water above and below the shingles. Once the snow is no longer there to feed the ice dam it will start to diminish in size.
Installing Heat Tape:
Heat tape is a type of electric heater cord that’s protected from the elements. When put in place, such as in pipes and gutters, it works to generate just enough heat to keep water from freezing. The roof heat cable is placed in key areas of concern. As the weather gets colder, once the tape is plugged in, it works to stop any precipitation from forming into ice or icicles. As a result, water continues to flow and there’s no ice obstruction on your eaves, valleys, or gutters.
Using Rock Salt or Calcium Chloride to Melt the Ice Dam:
An immediate solution to removing water buildup is to fill a nylon stocking or a tube sock with rock salt, calcium chloride, or ice melt tablets. Throw this onto your roof close to or on top of your ice dam and slowly it will melt. What you’re looking to do is break that dam and let the water through. You’re not trying to remove it all, just enough for the water to run off the roof.
Preventing ice dams is a must for every homeowner. The damage this causes can lead to several thousand dollars in repairs. If you know you have ice dam issues on your roof, we suggest working to create a long-term solution as soon as possible. This will not only provide peace of mind during the cold months, but it will increase your home’s resale value. We’ll say it one more time: To prevent ice dams once and for all you need insulation and ventilation.